$15 Vintage Shutter Makeover: Easy DIY Chalk Paint Project

Today I’m sharing a thrifted shutter makeover! There’s something special about turning an overlooked piece into a statement for your home — and that’s exactly what I did with this $15 find. I spotted it at a local junk shop and immediately knew it had potential. With a little chalk paint, some distressing, and a simple hardware update, it went from overlooked to hello sweetheart in just a few hours.
The Before
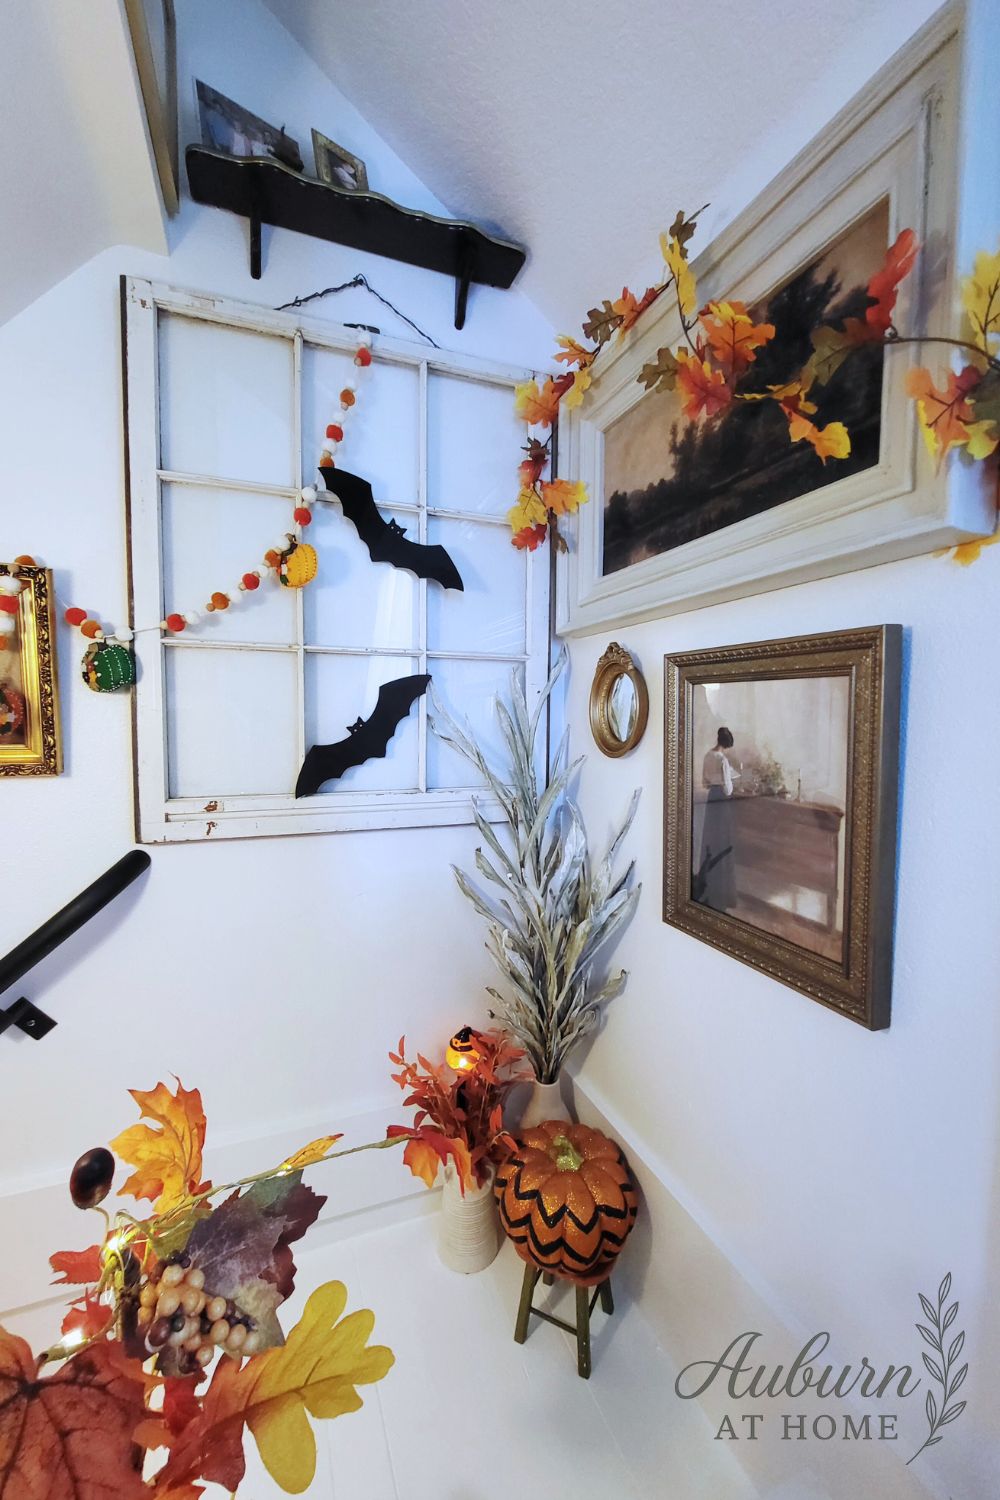
This old shutter had great bones. I have to believe this was someone’s DIY project once upon a time because it was painted & distressed to give a more worn look. The trim was painted a grey color that just looked purple to me no matter the lighting. I loved the tall, narrow shape and envisioned it as the perfect corner accent piece. It would shine in an entryway (one day, hopefully I will have a house that doesn’t open straight into a living room) but for now, it will do in any spot really.
This post contains affiliate links. As an Amazon Associate, I may earn a small commission on qualifying purchases at no extra cost to you. I’ve linked the exact (or similar) items I used in this project for your convenience.
What I Used
- Thrifted shutter ($15)
- Paint (black chalkboard paint + white — leftover from previous projects)
- Small paintbrush (I used a chip brush)
- Knob hardware (from my stash)
- Hot glue gun & glue stick (to adhere the knob)
- Sander
- Fall wreath (optional accent)
Since I already had the paint on hand, this entire project cost me just $15 total!

The Process
- Prep & Clean: I wiped down the shutter to remove any dust or debris.
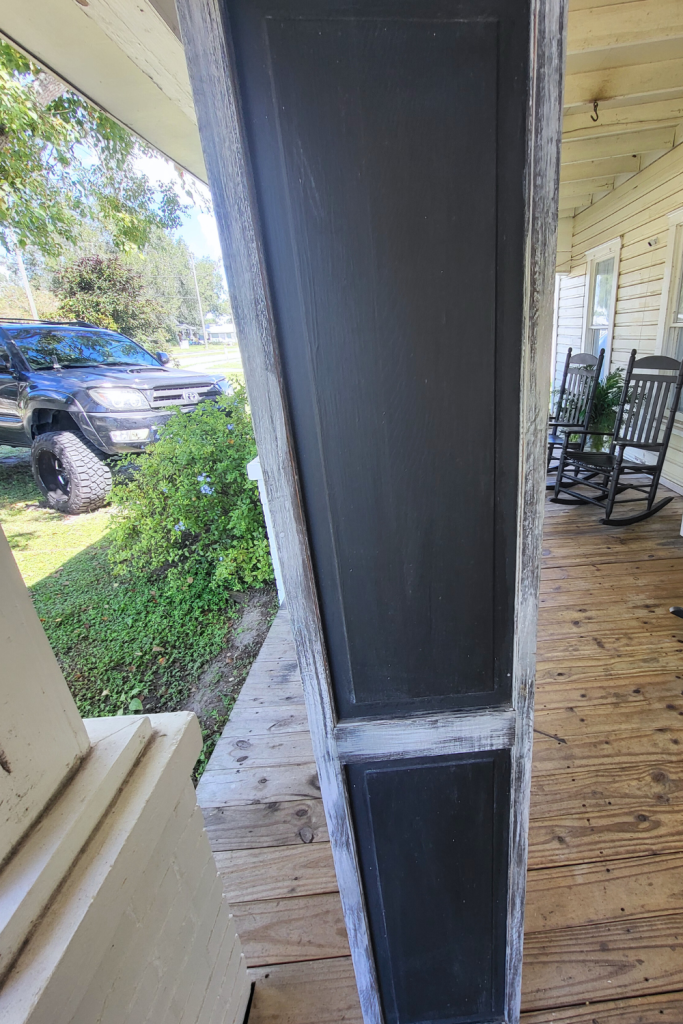
- Paint Update: I applied a fresh coat of chalkboard paint over the existing black sections. I wanted this piece to be versatile. Just think, menu board or welcome sign for parties. The options can be endless.
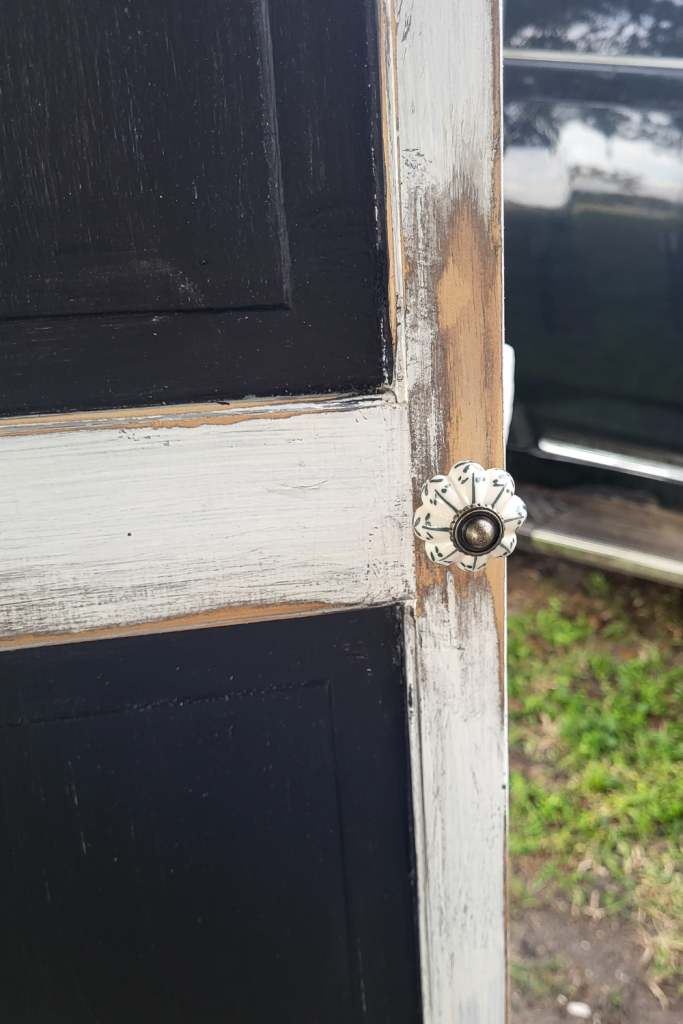
- Frame Refresh: I repainted the outer frame white. I did not try to get a perfect paint job because I knew I wanted to heavily distress the frame afterwards.
- Distressing: Using sandpaper, I lightly distressed the edges for a rustic touch. I ended up using the orbital sander to really roughen it up.
- Hardware Touch: I added a small knob to the lower panel for character and texture. I used hot glue to stick it on.
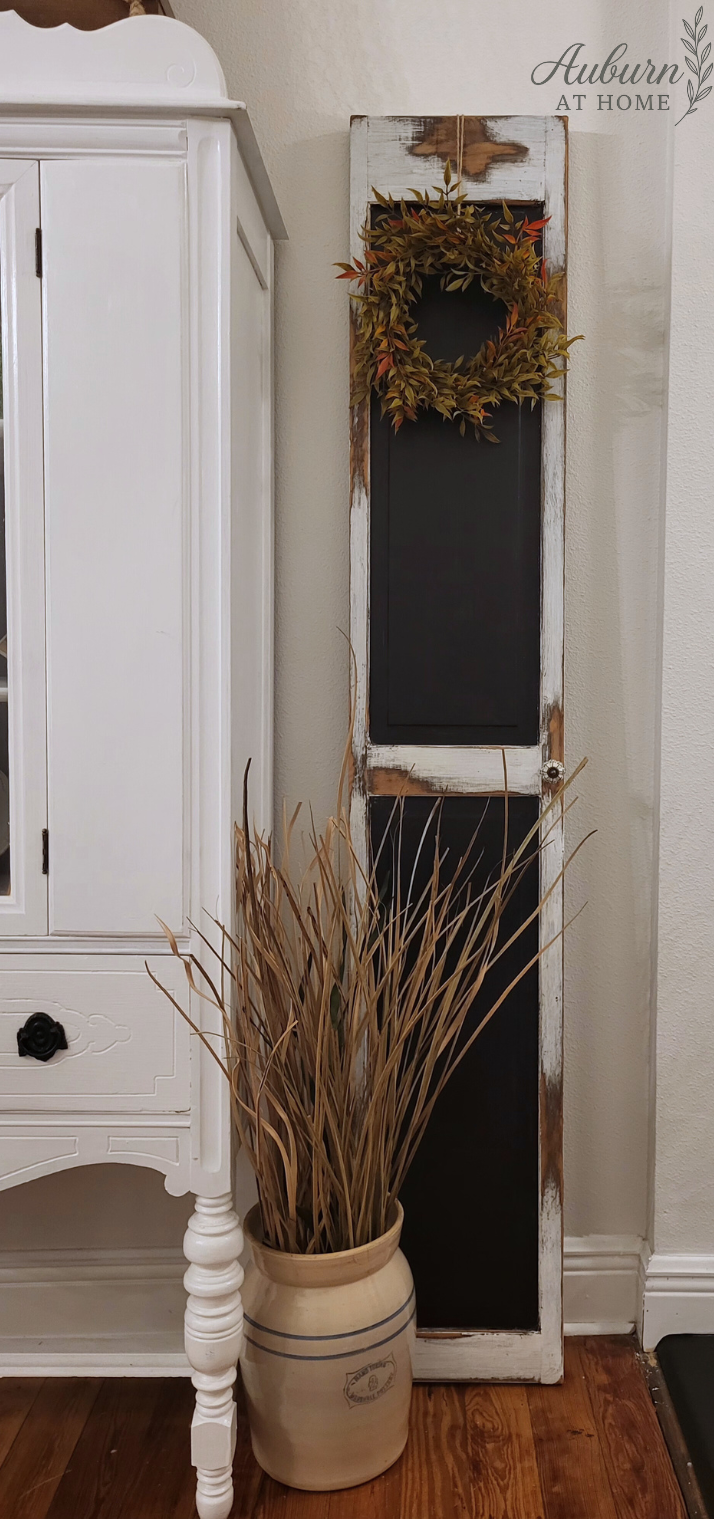
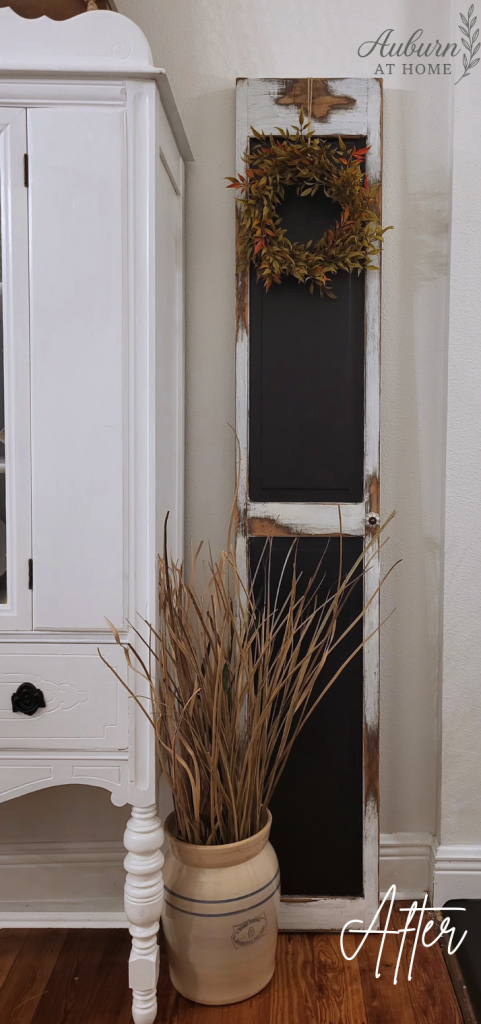
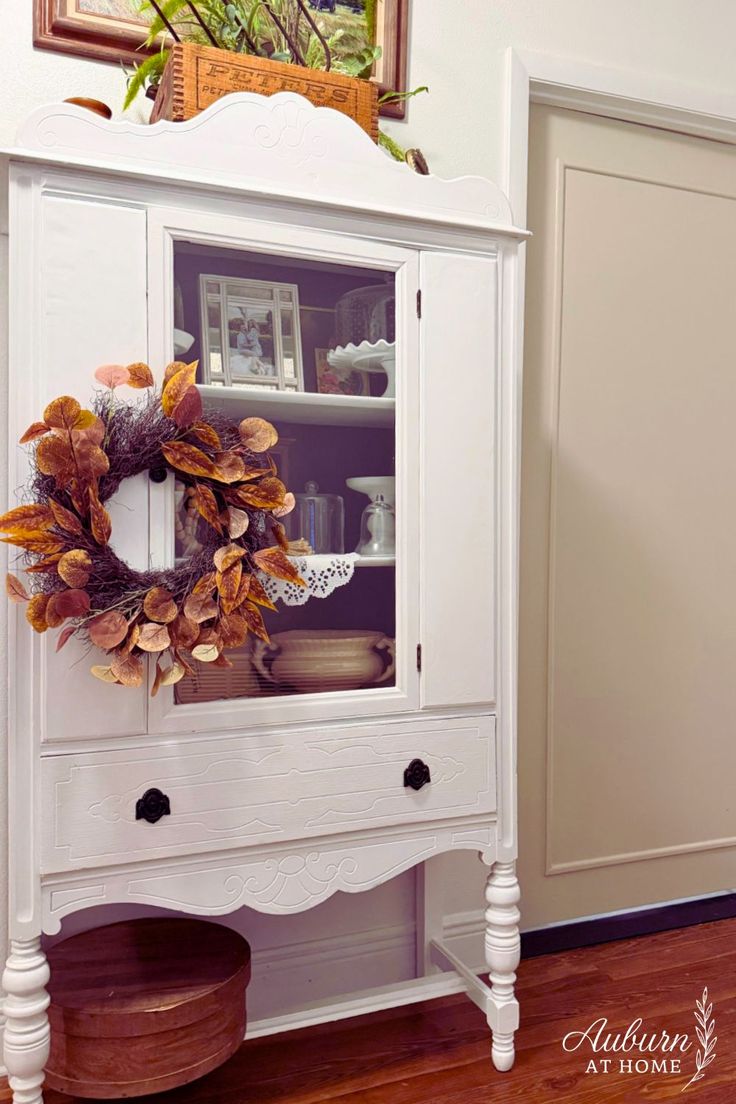
- Final Styling: To tie it all together, I hung a simple fall wreath at the top and placed a vintage crock filled with dried grass beside it.
The Result
This simple $15 DIY made a big impact. I love how the matte black contrasts with the distressed white — it adds texture and warmth while fitting perfectly with the rest of my farmhouse decor. What I love most is that it feels personal, like it has a story again.
Whether you use a shutter, an old door, or a salvaged window frame, this project shows that you don’t need a big budget to create beautiful home decor — just a little paint, a few tools, and an eye for potential.
Affiliate links are included in this post. I only share products I personally use and love. Thank you for supporting Auburn At Home — it helps me keep creating new DIY content!

One Comment